Painting No.012711
by Scott E Franson | size: 5×7 | media: digital
In my quest to discover new options and possibilities in digital art creation, I am always exploring the question of, “What if?” The exploration today has led me to some interesting surfaces created with acrylic paint and a texture made with ink and a roller.
Process
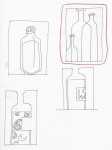
 The beginning of this process started with the idea of creating stencils similar to the ones used in silkscreen printing. I made several line drawings that included three layers with overlapping shapes. The image that I picked was simplified to three shapes. The process I wanted to experiment with required me to think in shape. I found it a challenge to think in shape while drawing with line. I knew that I didn’t want a key line to trap the different colors and that I wanted to have areas of overlap so that there was a possibility of visual color mixing.
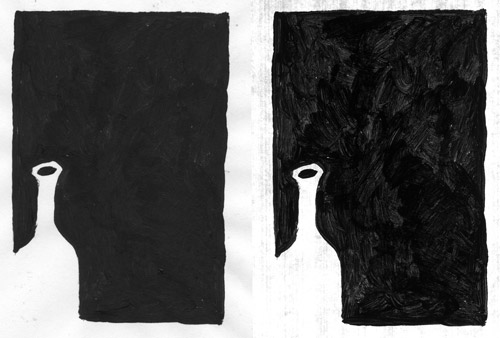
The line drawing was on a piece of 8.5 x 11 paper. I placed the page on a light table with a clean sheet of paper on top of it. Then I used black acrylic paint to paint one of the three shapes. I repeated this process until I had finished each of the three shapes.
The original paintings were just a couple of inches tall. When the images were scanned I increased the scale to show the details of the edges and brushstrokes. The image is about 250% larger than the original paintings.

The first time I scanned the images I used the normal scanner settings for reflective art. Then I noticed the light box built into the scanner for scanning film. What if I rescanned the images with the film settings, would the brush marks show more clearly?
Then I opened the scanned images and converted then to gray scale. (I should have scanned them in gray scale. It would have been faster.) When an image is gray scale there is a simple process that can be used to remove the white background.
photoshop tip | Open a black and white (gray scale) image open in Photoshop. In the layers pallet a there is a layer named Background (in italic). Double click on the icon in the layers pallet. This will open a dialog box for renaming a layer. The default name is Layer 0. You may rename the layer if you would like but it is not necessary. Click OK in the dialog box. Now the layer is named Layer 0. In the Menu bar go to Select > Load selection > Background gray. Click OK and then all of the light areas of the image will be selected. Click delete and the white will become transparent. In the Layers pallet click the Lock Transparency button. It is in the pallet header and is a small checker board. Now that the transparency is locked, the layer can be filled with any color. Change the color mode from gray scale to RGB, Image > Mode > RGB. Select a color you want to fill the layer with. Hold down the option key and press Delete (the backspace delete, not the forward delete) and the layer will be filled with the foreground color. Only the opaque pixels will be filled.
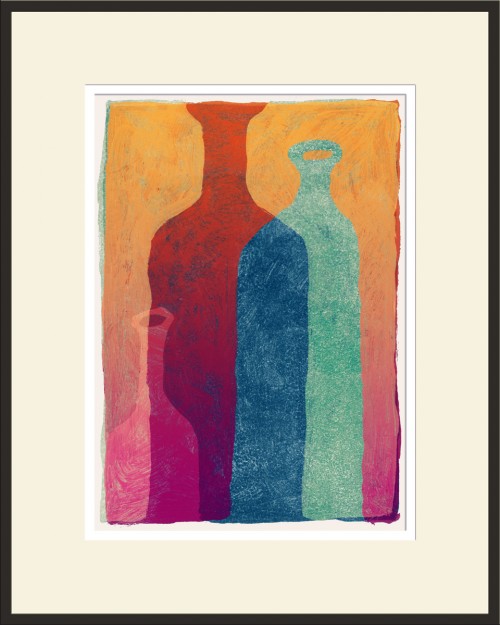
Once I have changed each of the three scans so that they are opaque to transparent I combine all of them in one file and begin experimenting with different colors. I found that two layers worked fine, but the addition of the third layer hid too much of the image underneath. So I began changing the layer modes. The top layer in this image is a light yellow and the layer mode is set to soft light. The soft light layer mode seems to work well when it is over dark colors.
The last layer that I added was a solid texture layer that I made with ink and a roller. The texture was a nice contrast to the brush marks. I added it as the bottom layer and liked the dotted pebbly texture. The complete texture was too much where it extended beyond the edge and so I selected each of the other layers by holding down option and shift and clicking on the three original layers. By holding shift, the selection is added to each time a new layer is clicked on with the option and shift keys held down.
Once all of these layers were selected I highlighted the new texture layer and added a layer mask. The layer mask removed the color from the edges of the image leaving it the paper color.
Significant discoveries
Using the film scanning mode to make the brush strokes show more.
There are several processes that I use all of the time that I have had a hard time explaining in this post. I should make a post about them that I can just link to in the future. Removing the white background, creating a compound selection from multiple layers, and clipping groups.

