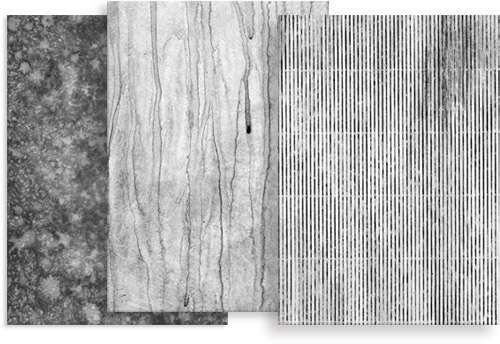
Creating texture | One way to add a human touch to illustrations created in Adobe Photoshop is to create your own textures.
I create my textures on 8.5 x 11 inch hardboards. While it is not necessary to use an 8.5 x 11 inch hardboard, I prefer it for the following reasons.
- It doesn’t warp making it easier to scan.
- 8.5 x 11 fits on the scanner.
- It can be painted over and over.
Be creative
Texture is all around us and adds a tactile quality to digital images. The examples shown at the beginning of the post were created with the following materials.
- black ink on a white gessoed hardboard.
- acrylic black paint on a gessoed hardboard.
- single sided courugated cardboard mounted, gessoed and painted with a thin wash of black acrylic paint
Scanning a texture
Scan in grayscale | Most of the textures that I use reference the value in an image. I scan them at 600ppi at 100% scale.
Adding a texture to Photoshop
Once the image is scanned open it. Starting in the Menu bar Edit > Define Pattern. It is that simple. The pattern is now available for you to use.
